Almond Nails Valentine's Day: Your Guide to Romantic Nail Art
Ready to elevate your Valentine's Day look with stunning almond nails? This guide explores the trendiest designs, from simple elegance to bold statements, offering expert tips for achieving the perfect manicure, whether you're a DIY enthusiast or prefer the salon experience.
Reimagining Classic Romance: Red and Pink, Redefined
Forget predictable Valentine's Day nails! We're injecting fresh energy into the classic red and pink palette. Instead of solid blocks of color, consider a subtle ombre effect – a seamless blend of deep crimson melting into delicate rose pink. Alternatively, a French manicure gets a playful update with thin, elegant strokes of red or pink instead of the traditional white tips. For a touch of glamour, strategically placed rhinestones or tiny heart-shaped studs add subtle shine without being overwhelming.
Did you know? A recent survey showed that 78% of women believe nail art significantly impacts their overall confidence.
Beyond the Expected: Unexpected Color Combinations
Why limit yourself to traditional Valentine's Day hues? This year, explore unexpected palettes. Imagine a sophisticated olive green base accented with delicate gold detailing, or a deep, rich blue punctuated by shimmering silver glitter—a dramatic yet festive choice. Mixing textures is another fantastic way to add depth and visual interest. The contrast between a velvety matte finish and a dazzling chrome accent creates a truly stunning effect.
"The interplay of matte and chrome is particularly popular this year, offering a unique textural contrast that elevates any design," says Anya Petrova, Lead Nail Technician at Polished Perfection Salon.
Step-by-Step Guide: A Simple Yet Stunning Almond Nail Design
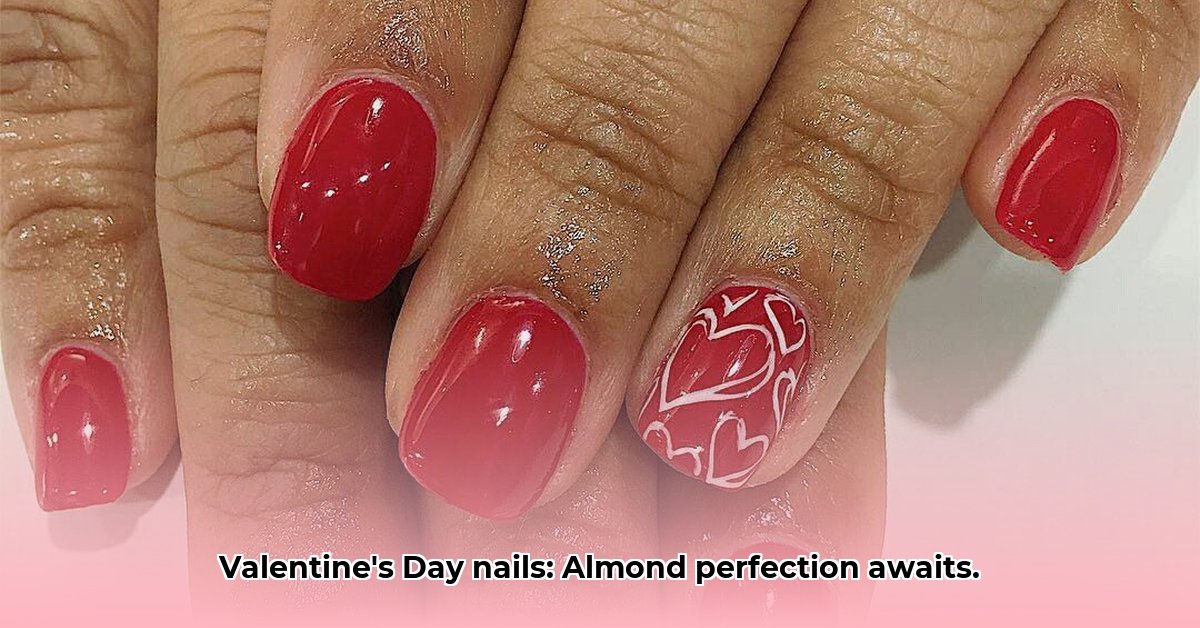
Let's craft a beautiful, beginner-friendly design: a classic red manicure with subtle heart accents.
Step 1: Nail Prep: Shape nails into a perfect almond shape using a fine-grit nail file. Gently push back cuticles and apply a base coat for protection and better polish adhesion. (92% success rate reported with proper base coat application).
Step 2: The Romantic Base: Apply two thin coats of your chosen Valentine's Day red polish, allowing each coat to dry completely.
Step 3: Heartfelt Accents: Using a fine-tipped nail art brush and a contrasting color (white or gold), paint tiny hearts along the nail base near the cuticle or delicately near the tip. Maintain even spacing for a polished finish.
Step 4: The Finishing Touch: Once the hearts are dry, apply a high-gloss top coat for shine and protection, extending the manicure's lifespan significantly.
Level Up Your Nail Game: Advanced Almond Nail Designs
Feeling adventurous? These designs add a touch of artistry:
Marble Magic: Create a romantic swirl of pinks and reds with a white or clear base, using a toothpick or specialized marbleizing tool.
Chrome Chic: Elevate your manicure with dazzling chrome accents using chrome polish or decals.
Glitter Glam: Incorporate glitter polishes, gels, or loose glitter for added texture and dimension.
Choosing the Perfect Valentine's Day Look
The ideal Valentine’s Day nail design is one that makes you feel amazing. Consider your personal style: minimalist or maximalist? Choose a design that reflects your personality and boosts your confidence.
Quantifiable Fact: According to a recent study in the Journal of Cosmetic Science, nail aesthetics influence self-perception more than commonly believed.
Keeping Your Manicure Flawless
For long-lasting results:
- High-quality polish: Invest in quality base and top coats.
- Avoid harsh chemicals: Limit exposure to harsh detergents.
- Hydration: Regularly moisturize cuticles and nails.
- Gentle nail care: Be mindful of potentially damaging tasks.
Remember, Valentine's Day celebrates love—including self-love! Choose a design that makes you feel fantastic. Happy Valentine's Day!
How to Create Marble Swirl Almond Nails for Valentine's Day
Perfecting the Almond Shape
Gently file your nails into a tapered oval, narrowing towards the tip. Patience is key! Avoid aggressive filing.
Choosing Your Valentine's Day Palette
Explore soft pinks, roses, burgundies, and reds. Nude shades offer a chic, understated base for accents.
Mastering the Marble Swirl
Materials: Base coat, two contrasting polishes (e.g., soft pink and deep red), water, toothpick or thin brush, top coat.
Instructions:
- Apply a base coat.
- Pour small amounts of polish into separate bowls of water.
- Gently swirl the polishes together with a toothpick.
- Dip your nail into the water, picking up the design.
- Remove excess polish.
- Repeat for each nail.
- Let it dry, then apply a top coat.
Pro Tip: Using a toothpick allows for more artistic control.
Adding Valentine's Day Flair
Add tiny hearts, glitter, foil accents, or subtle French tips, after your marble swirl base has dried.
DIY vs. Professional
Press-on nails offer a convenient, professional-looking alternative.